Let It Shine: Working With Art Resin
How I Use Art Resin To Build A Layer of Mystery In My Work
Hands down, the question I get most from other artists is “how do you use resin?”
Paintings, like stories, need layers: one story from a distant view; a far more complex story upon closer examination. Although my work involves many layers of paint, ink, graphite, and other media, I typically begin with a layer of outdated print materials. Choosing the right art medium to build up the following layers is a creative journey in its own right.
Early in my practice, I worked in encaustics, building up deep, translucent layers, scraping away here, building up there. Although I loved the way the encaustic paint would soak into the source materials, some of the papers would be discolored in an unpleasing way or were simply too fragile to hold up to the heat required to fuse the layers.
Over time I have gravitated towards acrylic paint and mediums. I appreciate the protection offered by Golden’s Semi-Gloss UV Topcoat, and I can build countless layers with gel and glazing mediums. But if I really want to protect a layer of source material or if I am a bit unsure what direction the final layer should take, I call in the big gun— Art Resin.
I have used epoxy resin off and on for a decade, with a bit of a love-hate relationship. Loved the look; hated the toxic fumes, the mess, the potential for yellowing. But then I stumbled across Art Resin, a product made with fine artists in mind, with virtually no fumes and a consistently clear, museum-quality finish. Many artists use Art Resin as their primary medium, but I use it to create a mystical, other-worldly depth that never fails to mesmerize viewers.
Here’s a look behind the scenes of a typical Art Resin pour for me.
1. Work on a solid substrate.
I work on aluminum panel which is fantastic for resin. I never have to worry about it bending or sagging from the added weight of resin, which can potentially be an issue adding resin to canvas.
2. Create the “underpainting.”
An “underpainting” for me is really the first of several paintings that I build, erode, and evolve multiple times. I typically start with a solid layer of color, add some texture, layer in my source material (usually print or paper materials), add a color with paint in strategic places, and sand or wear down the source materials. As I repeat this process I will start to find the shapes and lines that will organically appear.
3. Protect my source materials.
I like to work with obsolete source materials, which means I may have a limited quantity available or the materials are fragile with age. While I can protect the materials at some level with acrylic mediums, I am limited to how much distressing I can do to make them “melt” into the overall painting without risking permanent damage. That’s where Art Resin becomes my buddy.
4. Prep for Art Resin.
In preparation for the resin pour I seal the underpainting with Semi-Gloss UV Topcoat, trying to even out any gaps between source materials. After at least 24 hours, I will lightly sand the piece, being careful to remove any dust before pouring the resin.
5. Mix Art Resin.
This is the stage that I use Art Resin to “freeze” the underpainting. Wearing gloves and a mask, I mix the 2-part epoxy resin in a plastic bucket, making sure to use equal parts of the mixes and stirring for the full three minutes. No cheating!
6. Pour Art Resin.
Now comes the fun part— pouring and spreading the resin. Resting the artwork on two (or more) boxes of equal height, I pour the resin in the middle of the piece, creating an X shape. Art Resin offers these great plastic spreaders that help create an even distribution. Edges can be a challenge with resin, but I prefer to let the resin drip off the edges (hence the benefit of resting the artwork on equal height boxes). The resin self-levels nicely, so my job is just to make sure it is distributed evenly.
7. Eliminate air bubbles.
All resin will create air bubbles in the process. I find a small kitchen torch works well to eliminate the bubbles. Bubbles may continue to appear for an hour or more, so I try to check regularly on the piece during that time. Ideally, you should tent the artwork while the resin is curing. to prevent any dust or particles settling on the artwork.
8. 48 hours later…
I start to work on the next layer of the painting. Some times I mask off areas to ensure some parts of the final painting will have that ultra-shiny resin look; other times I lightly sand the whole piece and work with acrylic paint as I normally would.
9. The beauty of a resin layer.
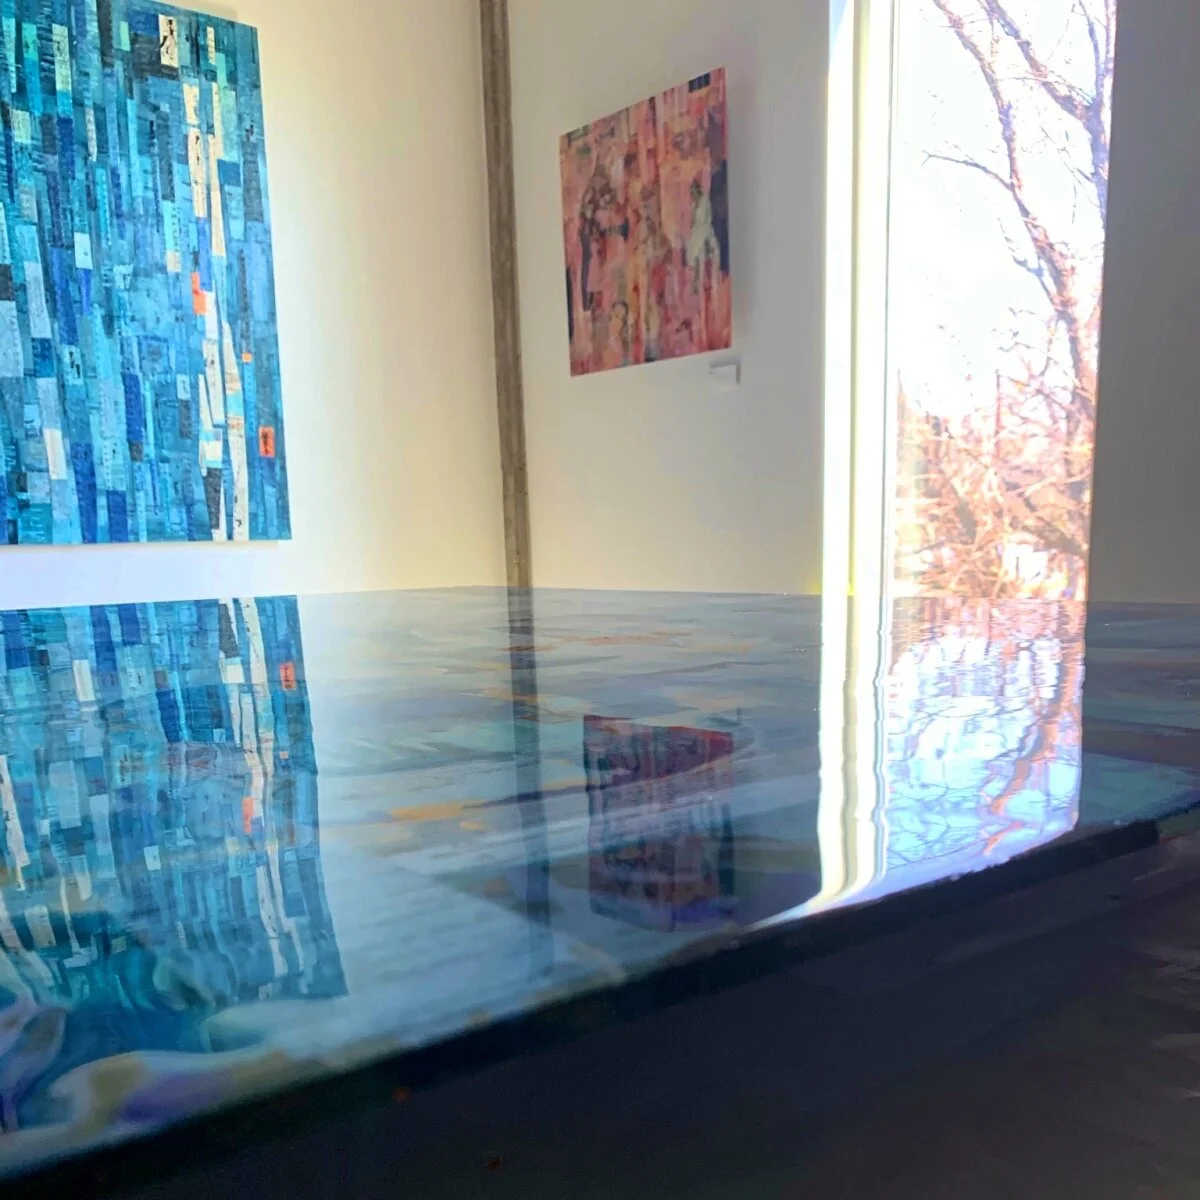
The resin layer adds mystery and it gives me a safety buffer. Let’s say I added a final layer of a single color in a large quantity. Upon further reflection, I wish I had not. Simple solution: get out the sander. A bit of sanding later, some of that color may remain (in a pleasing amount) and the underpainting, i.e., the precious source materials, have suffered no harm for the detour. Brilliant!

